Serpentine Belt Guide: Inspection, Replacement, and Failure Signs

Author
Carendar Team
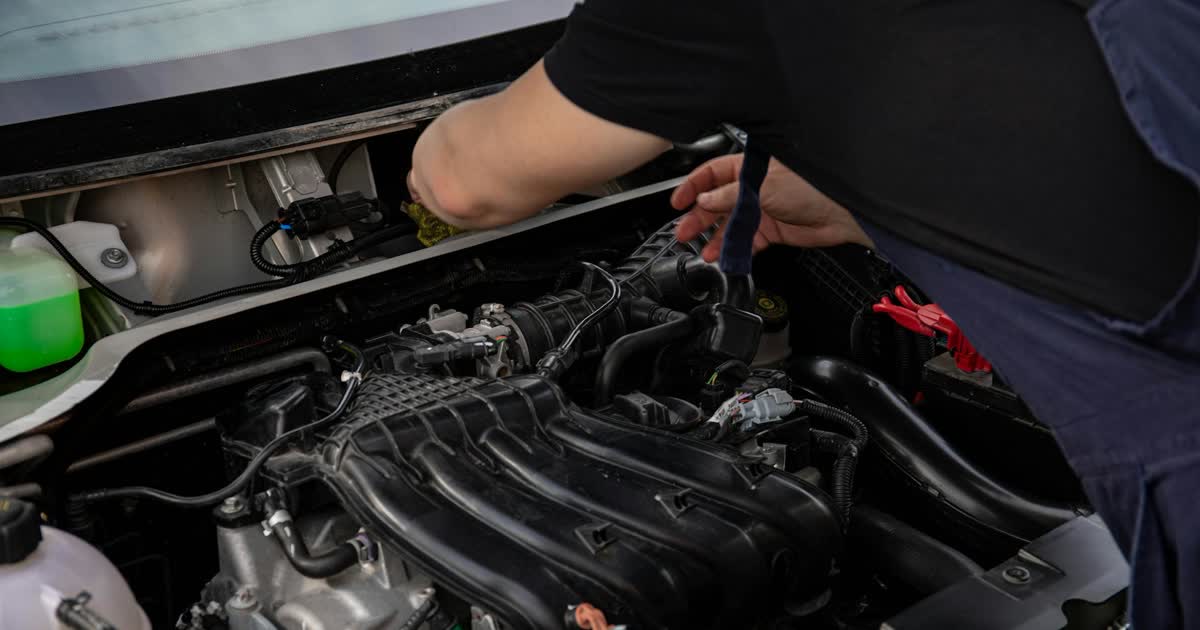
The serpentine belt drives your alternator, power steering pump, water pump, and A/C compressor. A worn or snapped belt can leave you stranded with overheating or no charging—so regular inspection matters.
Warning signs
- Squealing on startup or when turning the steering wheel at idle.
- Battery warning light or power steering feels heavy—belt may be slipping.
- Overheating if the belt drives the water pump and fails.
Belt and tensioner together
Many shops replace the automatic belt tensioner when the serpentine belt is due— a weak tensioner causes slip and premature wear on the new belt.
Why serpentine belt maintenance matters
Unlike oil changes, a serpentine belt rarely sends a polite reminder before it fails. One minute your alternator is charging and your power steering is light; the next, a snapped belt can leave you without charging, overheating, or assisted steering. Because the belt drives multiple critical accessories from a single path around the engine, wear in one area affects everything it touches. Regular visual inspection costs nothing and takes less than a minute during an oil change.
- A failed belt can disable charging, cooling, and power steering at once.
- Most manufacturers recommend inspection every oil change and replacement every 60,000–100,000 km—check your manual.
- A slipping belt wastes energy, reduces fuel economy, and accelerates wear on the tensioner and pulleys.
Step-by-step serpentine belt inspection
1) Visual check (engine off, cool)
- Locate the belt routing diagram on the hood, strut tower, or manual.
- Look for cracks, fraying, missing rib chunks, or a shiny glazed surface.
- Check belt alignment on each pulley—edges should sit flush in the grooves.
2) Tension and pulley check
- Press the belt midway between pulleys—deflection should match manual specs (often ~12–15 mm).
- Spin each idler pulley by hand—grinding or wobble means replace the pulley or tensioner.
- Note any belt dust or debris under the engine—a sign of active wear.
Replacement overview (for experienced DIYers)
- Draw or photograph the belt routing before removal—routing errors cause immediate damage.
- Release tension using the automatic tensioner or adjustment bolt per your manual.
- Install the new belt, confirm routing, then start the engine and verify smooth operation of all accessories.
When to seek professional help
Book a workshop visit if the belt is hard to reach, the tensioner requires special tools, or you hear squealing that returns after a DIY replacement. Also seek help if the alternator or power steering fails suddenly—the belt may have already snapped or a seized pulley may have caused secondary damage. For vehicles with a supercharger or complex accessory layout, professional routing confirmation is worth the labor cost.
FAQ
What to log after belt service
A simple log entry turns a one-time repair into predictable maintenance. Record the date, mileage, belt part number, and whether the tensioner or idler pulleys were replaced at the same time. If a shop performed the work, attach the invoice. When you sell the vehicle, buyers value proof that critical wear items were replaced on schedule—not guessed from appearance alone.
- Photo the belt routing label under the hood for future reference.
- Set a reminder for the next inspection at your oil-change interval.
- Compare belt condition notes over time—accelerated cracking means replace sooner.
Serpentine belt vs V-belts (quick comparison)
Older vehicles often used multiple narrow V-belts—one per accessory. Modern engines use a single serpentine belt routed around all pulleys, which simplifies replacement but means one failure disables everything at once. If your vehicle still has separate belts, inspect and replace each on its own interval. Hybrid and stop-start engines may use a dedicated belt for the alternator—confirm routing in your manual before assuming a single-belt layout.